To upload the Garmin track using your mobile phone, see the following tutorial: LINK
This page will describe what a user with user level Club Admin can do.
Club admins can do everything normal users can, so please have a look at the normal user documentation as well.
Index
How to become a Club Admin
Club admins can create, edit and remove events.
To become a Club admin you first need to create an account and be a member of a club. To join a club, once you have created your account, all you have to do is go to ‘Settings’ on o-track.dk and select your country and then your club from the dropdown and save. If your club doesn’t exist you can create it by pressing the +-sign.
Once you have created an account associated to a club please write an e-mail to o-track [a] tractrac.com specifying your O-Track account name, your country and your club and request to become a club admin. We will then be able to promote you to club admin with privileges to create events on O-Track.
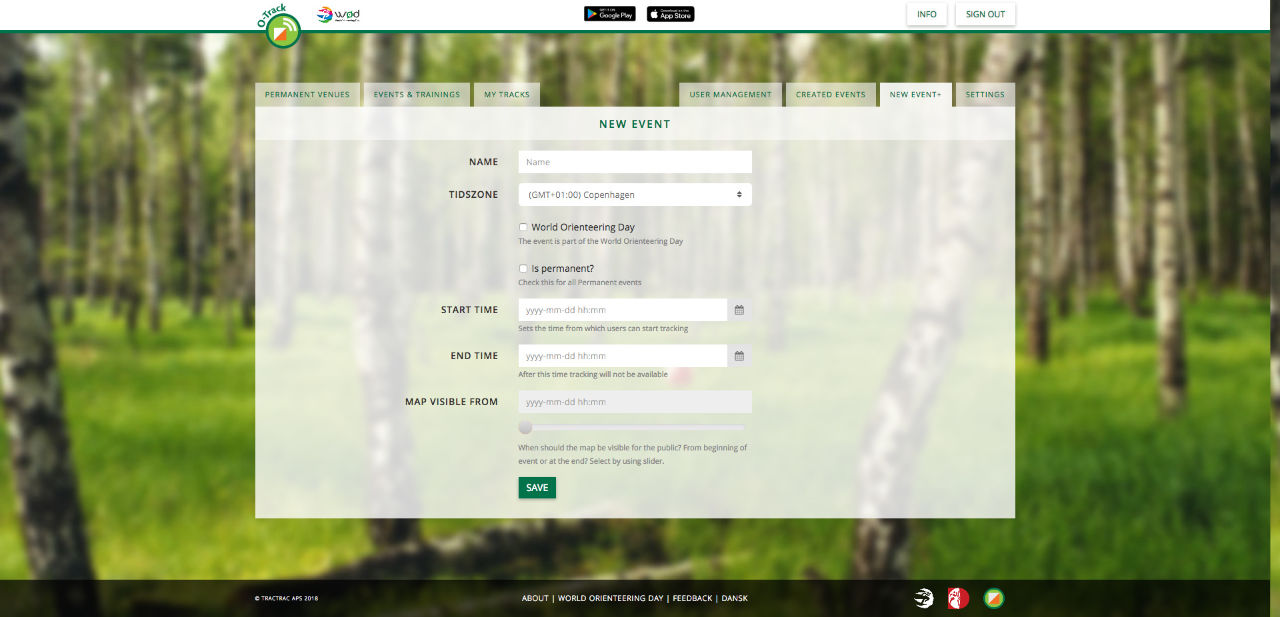
Create new event
Club admins can create two types of events, Permanent events and other club events like traning or competitions.
This list explains the fields available.
- Name
- Name of the event visible in lists on web and in apps.
- Time zone
- Usually Denmark
- Post code
-
In which post code does the event take place?
Not available on temporary events. - Is permanent
- If it is a Permanent event.
- Start time
-
When does the event start? Sets the time when users can start tracking on an event.
Not available on Permanent events as they are always visible. - End time
-
When does the event end? Sets the time when user can not start tracking any more.
Not available on Permanent events as they are always visible. - Map visible from
-
This slider decides when all maps will be visible for the public.
Not available on Permanent events as they are always visible. - World Orienteering Day
- If your event is a World Orienteering Day event it will be promoted with the World Orienteering Day logo on O-Track.
Once all required fields are filled in, click save and you will be taken to the condes upload.
Accessible through the main list of tabs.
User restriction: Club Admin / Only available if logged in
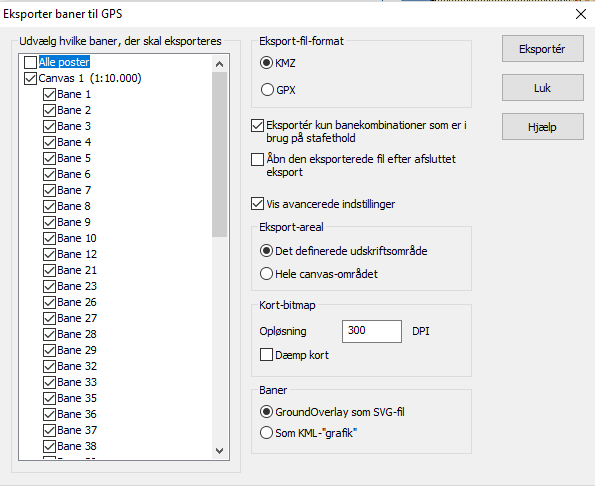
How to export .KMZ from Condes to O-Track?
From Condes you export the KMZ-file via the menu 'Eksport / Eksportér baner til GPS'.
Choose the default selection as shown on the screenshot and press 'Export'.
If you want to export one map with all controls but no course also select 'Alle poster'.
Please note that O-Track does not accept map files larger than 5000*5000 pixels. If you map is larger than this limit you can reduce the size by adjusting the printable area or choose a lower DPI.
If you want to allow the user to visit controls in random order (i.e. not run a specific course) (e.g. for Find-Vej-locations) you should include 'Alle poster' in 'Udvælg hvilke baner, der skal eksporteres'.
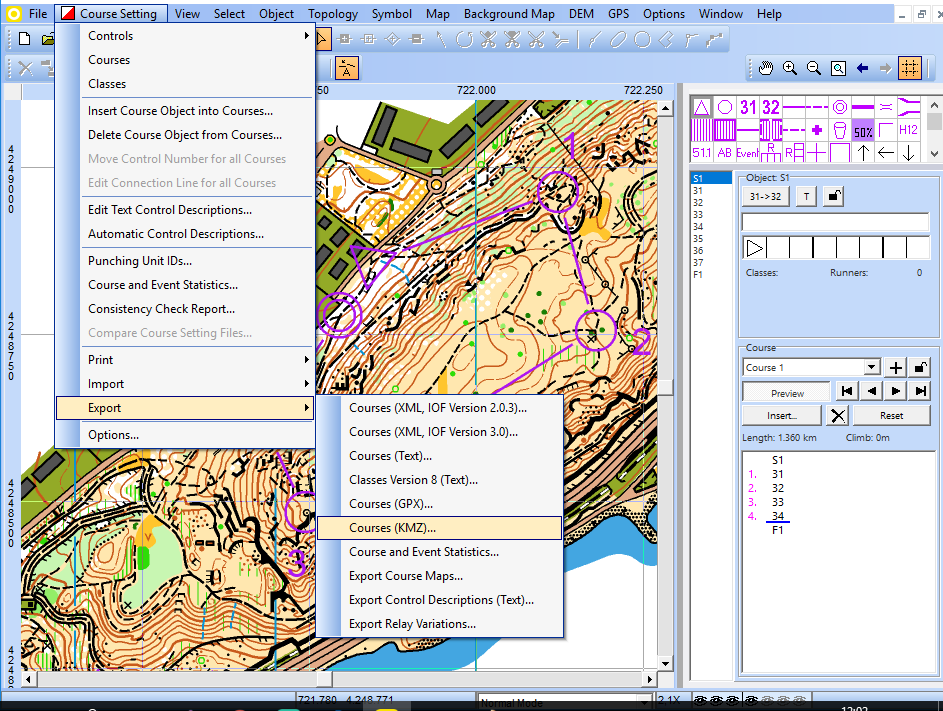
How to export .KMZ from OCAD to O-Track
From OCAD you export the .KMZ file thrught the menu 'Course Settings / Export / Courses (KMZ)'.
O-Track does not accept map files larger than 5000x5000 pixels, make sure your maps are not larger than that. If your map exceeds the size, you can make it smaller by adjusting the printable area or choose a lower resolution (DPI).
KMZ export from OCAD works with the latest Service Update in OCAD 12 and 2018, Course Setting, Starter Orienteering and Mapping Solution editions. It is not supported in earlier versions.
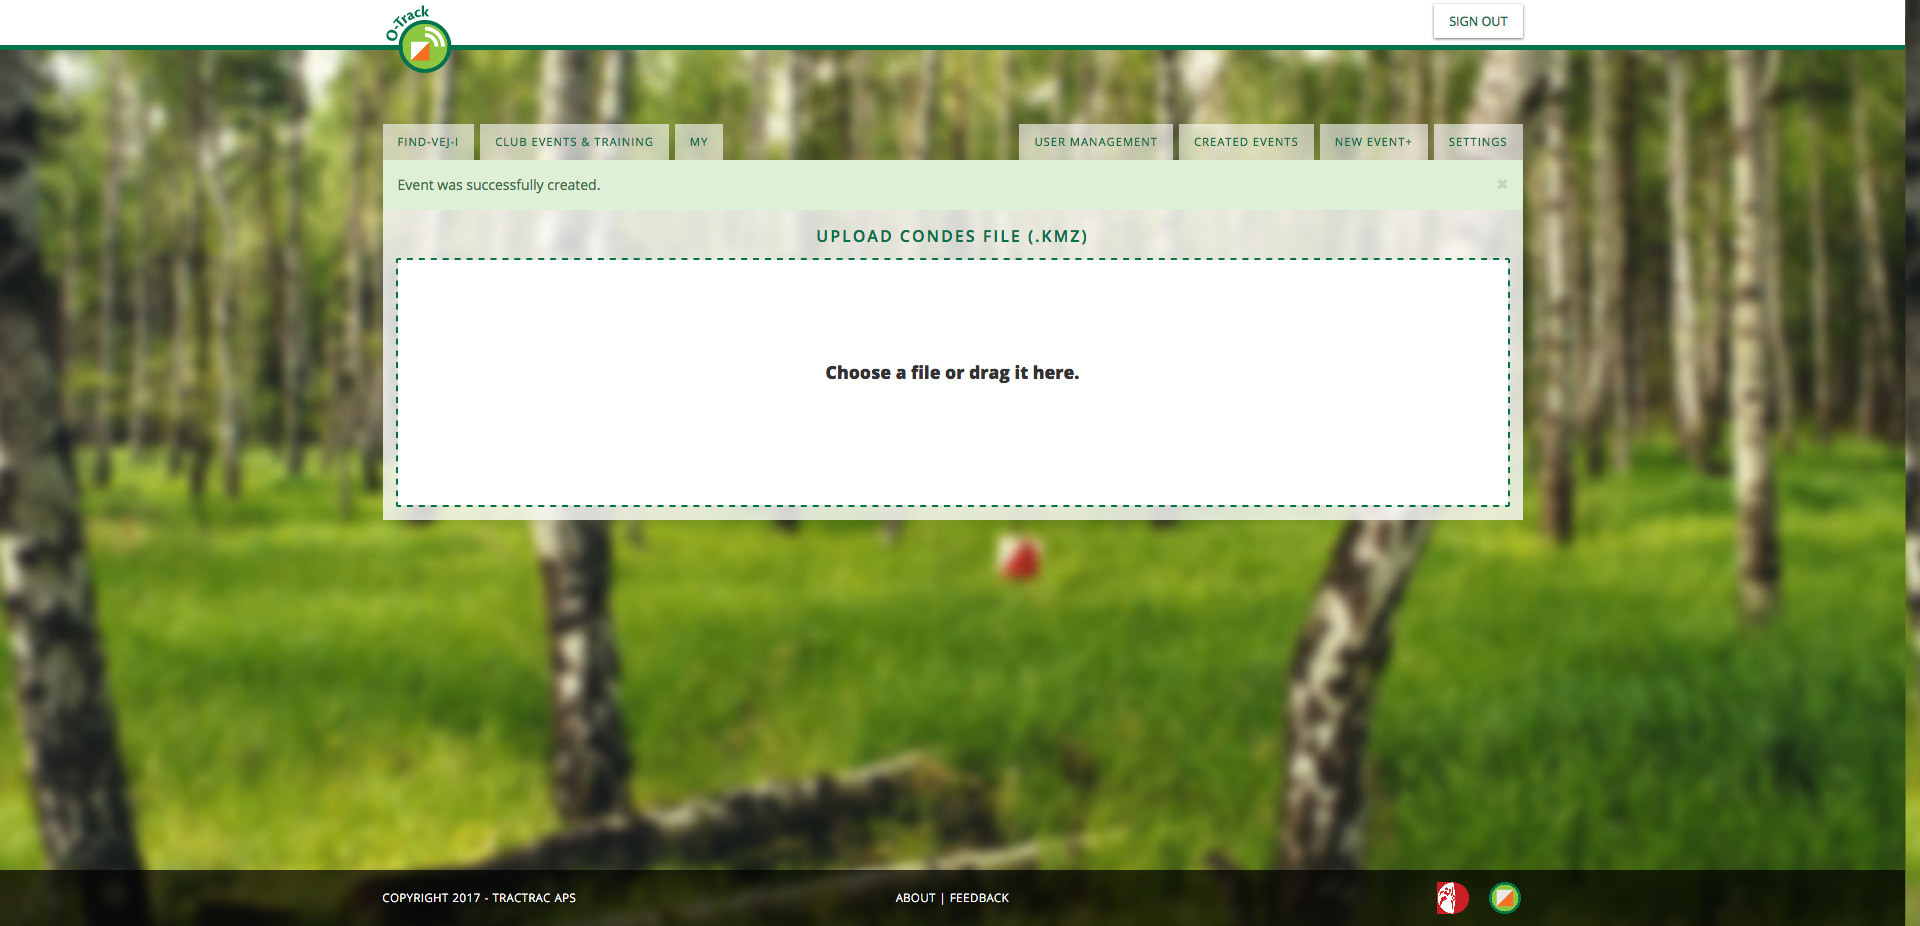
Upload condes file
Just drag and drop your .kmz file to the indicated area. O-Track will do the rest. And once ready you will be taken to the event edit page where you can modify your event.
User restriction: Club Admin / Only available if logged in
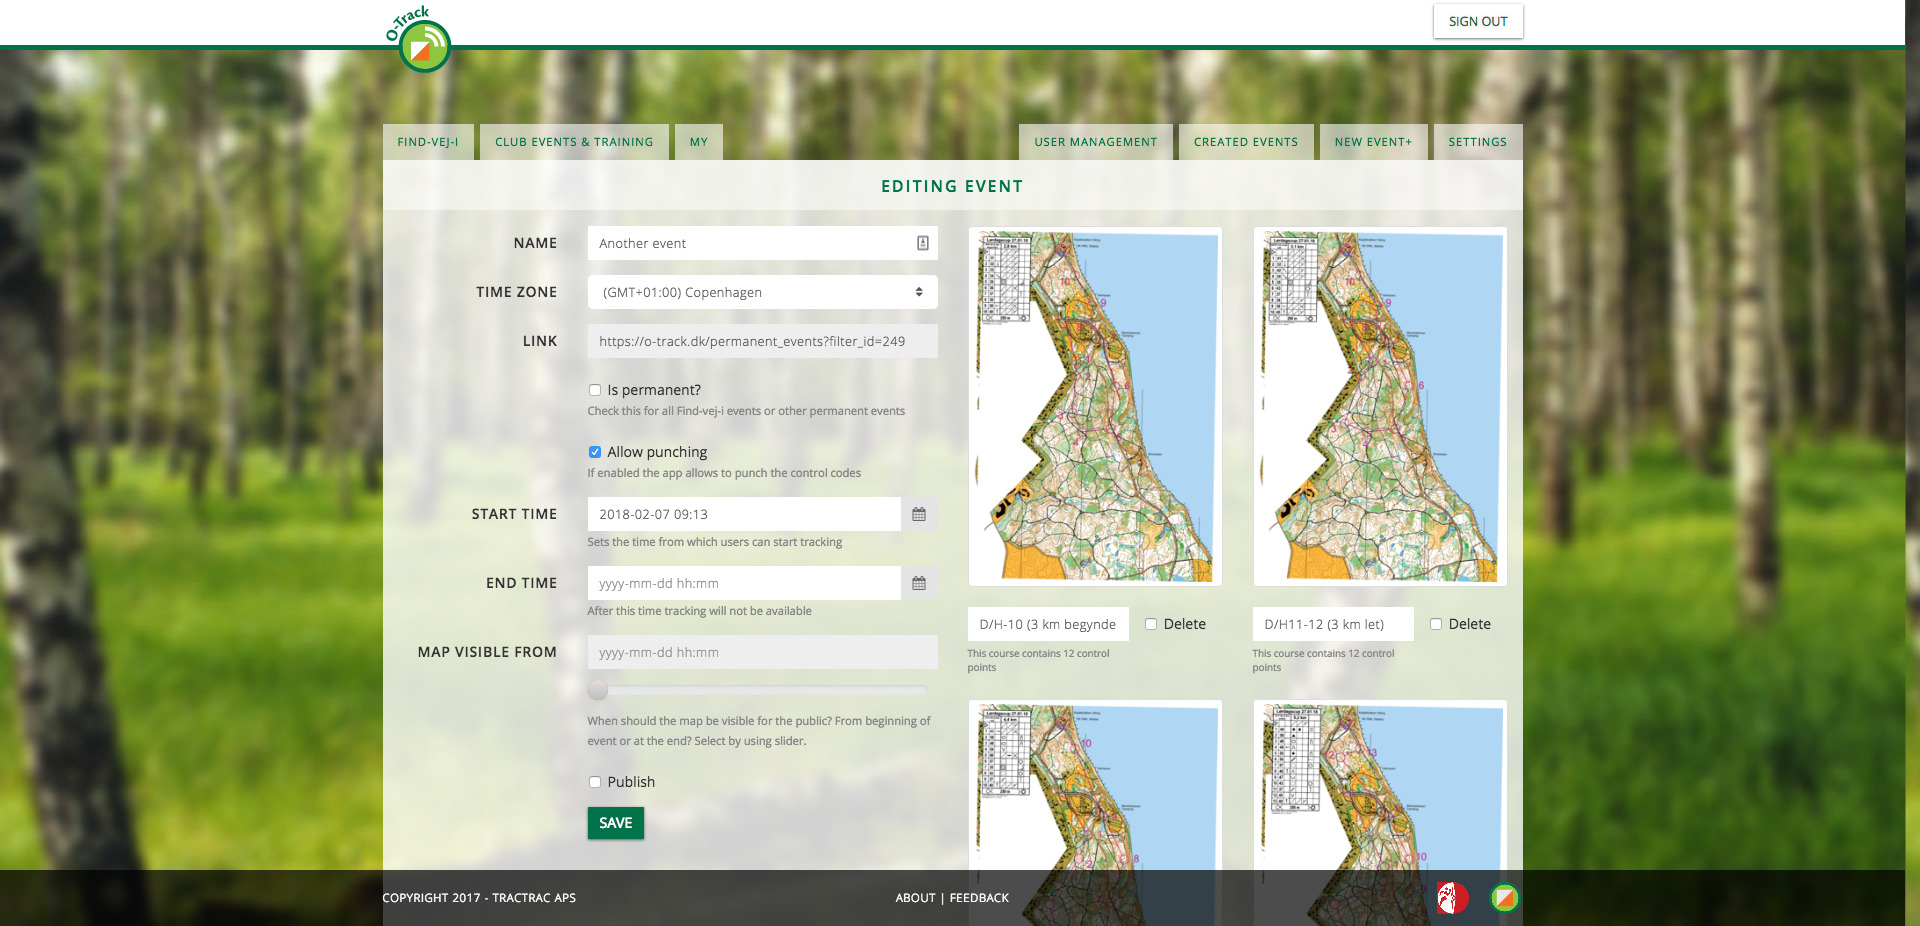
Edit event
Here you can edit all fields seen when creating the event.
Left side:
Link: A link to the event which can be pasted on the events facebook page or anywhere else.
Allow punching: Enables control punching in the apps.
Postal code: The postal code of the permanent events location.
Find-Vej-I-ID: A 4-digit code found on findveji.dk.
The right side shows all maps and tracks, here its possible to update or delete tracks upon save.
This page is available after upload of a condes file or throught the edit button in the list of created events.
User restriction: Club Admin / Only available if logged in
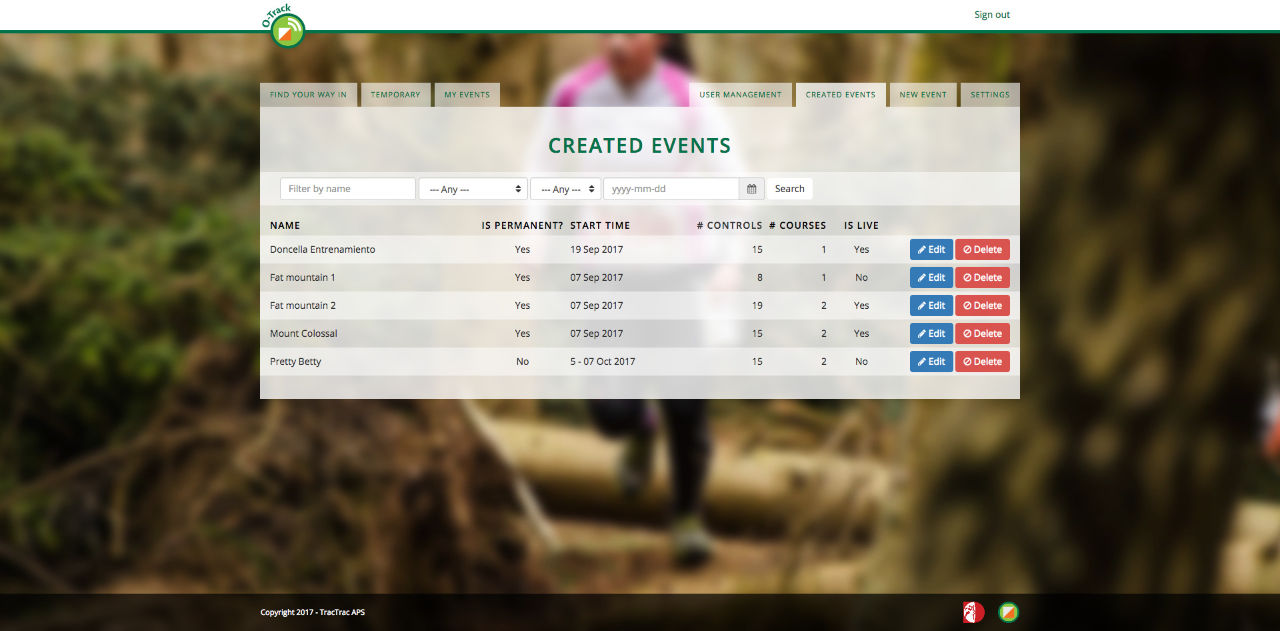
Created events
Here all events beloning to your club is listed, for each event you can decide to edit or delete.
Accessible through the main list of tabs.
User restriction: Club Admin / Only available if logged in
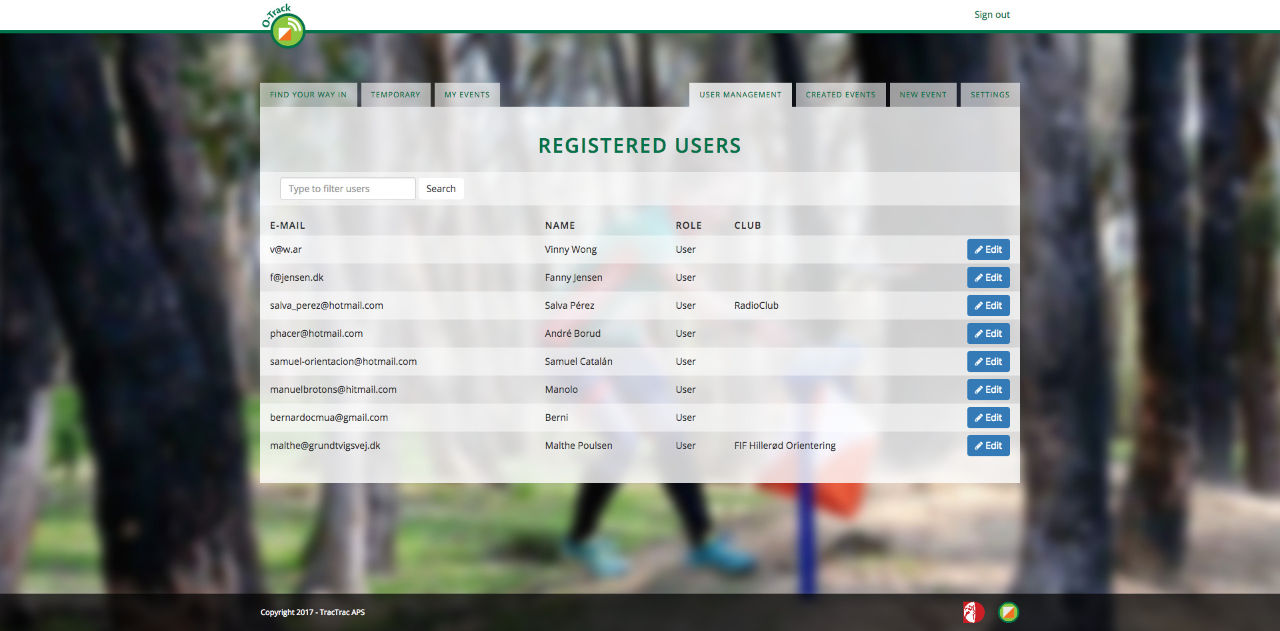
User management
All users belonging to your club are listed here.
It is possible to promote and demote any user in this list to club admin of your club. Click edit and you will be taken to User promotion page.
Accessible through the main tab bar if logged in.
User restriction: Club Admin / Only available if logged in
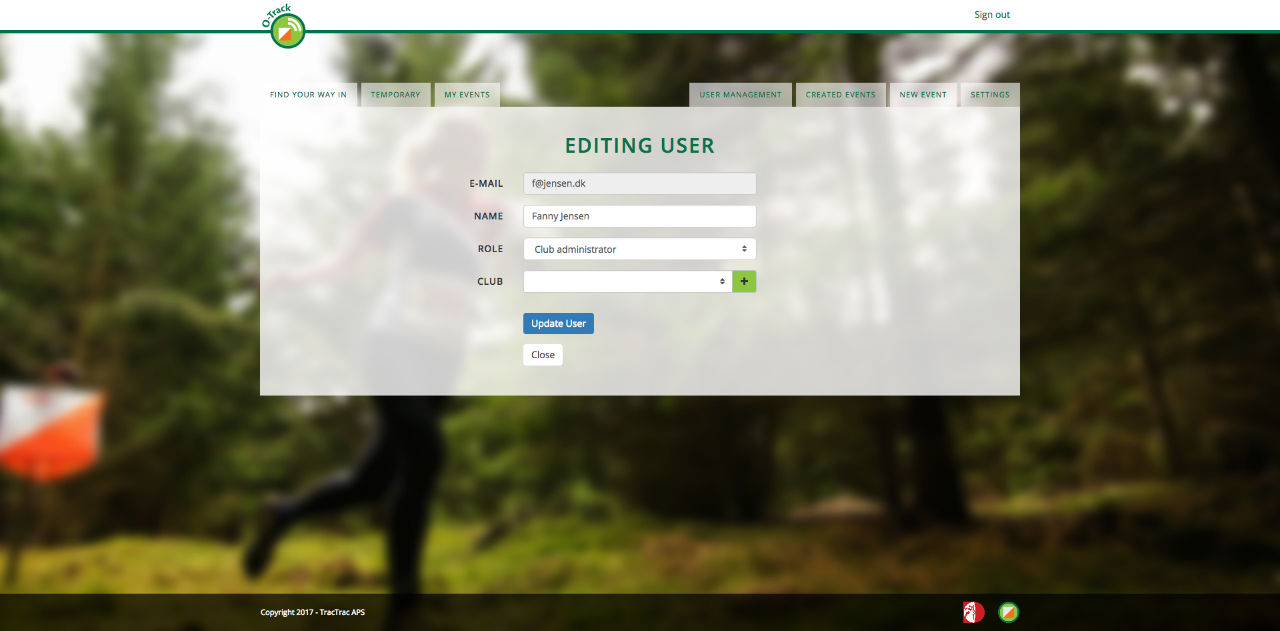
Promoting user to Club Admin
Here you can select if a user should be promoted or demoted in the <strong>Role</strong> drop down.
Accessible through user management list.
User restriction: Club Admin / Only available if logged in